Event Photographer’s Photo Editing Work Flow
Writers make several rounds of edits to their work before delivering the final product. Professional photographers are no different. Editing and post-production are vital to ensure the client receives the highest quality images.
The Icing on the Cake
At SeeSaw Event Photo Agency, we see editing and post-production as the icing on the cake. You wouldn’t want a cake without icing, would you? I’m a big advocate of sharing, so I’m sharing the secret of my icing with you.
A Process of Selection and Elimination
During an average 3-day conference, I tend to end up with between 2,500 to 3,500 photos. Not all these will be suitable or good enough for promoting the event. Some of the shots might be blurry, out of focus, with poor composition — it’s a process of selection and elimination.

Edit While Photographing
I start the editing process when I’m taking the photos. I’ll decide on-the-spot which photos will be most useful in helping the client promote their event. Rather than shooting like a lunatic, I’ll stop and think about the best angle, composition, and human reaction. If the situation requires me to work fast, I’ll adjust my approach.
Finding the Best Photo Opportunities
Good photos should have the following elements:
- The main subject (e.g. the keynote speaker, a group of people networking, audience participation)
- Pleasing aesthetics and good composition (e.g. symmetry, texture, depth)
- Good lighting
- Company branding visuals
You might not always get all these elements, but try to get as many of them as possible. These are essential components to ensure the client has quality photos for promotional use.
Selection and Elimination Using Stars
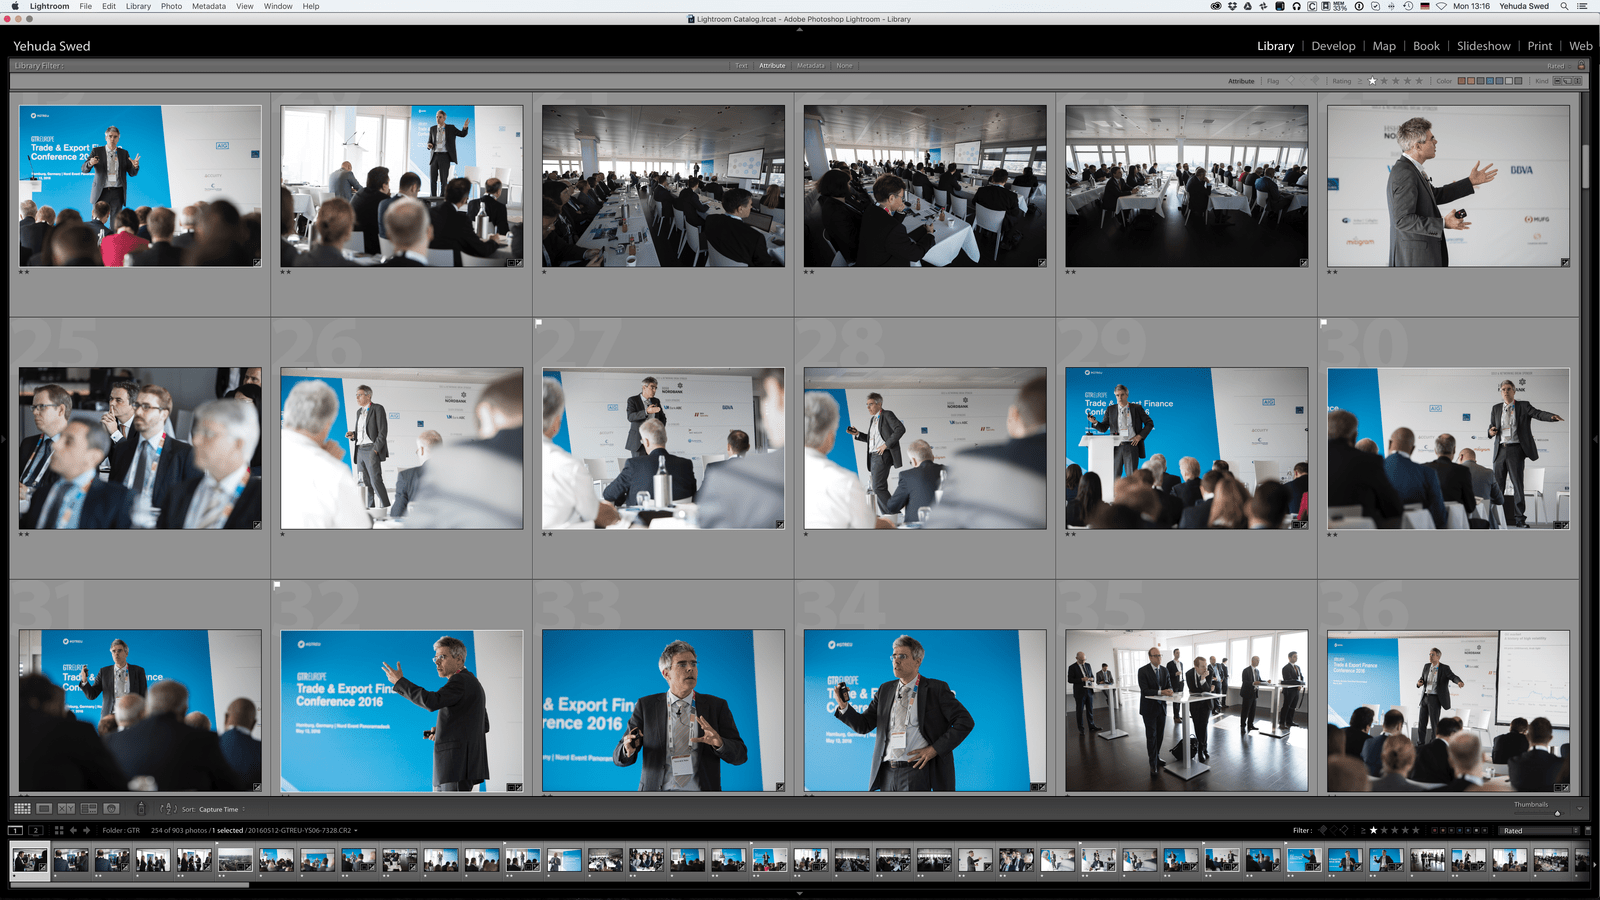
I use a simple star system to filter out the good photos from the bad.
Phase 1: 1 Star
The process starts with me going through all the photos and relying on my immediate instincts. I’ll look for the four elements highlighted above. If a photo feels right and I like it (even just a little), I’ll give it 1 star. You won’t believe how many photos you’ll cut this way. From 3000 photos, I end up with 1200. That’s over 50% of the photos filtered out.
Phase 2: 2 Stars
Repeating the process, I go through the 1200 photos and give 2 stars to the ones I like. That brings the filtered photos down to 500.
Phase 3: Final Selection
This is where I get rid of duplicate shots and those that don’t tell the full story of the event. This brings the final number down to 350 to 400 photos. If necessary, you can repeat the process until you have the number of photos you want. Based on personal experience, you should have about 150 to 250 usable photos for each day of a big event.

Go Through Your Checklist
Make sure you’ve photographed all the key figures (e.g. speakers, presenters). For trade fairs, make sure you document each stand or booth. Clients should brief the photographer on their specific requirements. Otherwise, the photographer should ask if they have any doubts.
Post-Production
Using Adobe Lightroom, this is when I add the final touches. I make minor adjustments such as exposure and color correction, contrast, details enhancements, noise reduction, and cropping. For poor lighting conditions, always make visual adjustments for the best results.
I see post-production as an essential part of photography service. Like I said earlier, you wouldn’t want a cake without the icing, would you? Likewise, why should you settle for photos that aren’t edited and post-produced?
Yehuda Swed (founder of SeeSaw Event Photo Agency) is a Berlin-based event photographer and storyteller
Looking for a professional event photographer in Berlin, Hamburg or Frankfurt? Drop us a line for more details or to chat about your requirements.
We look forward to capturing beautiful moments at your next event!

